Attaching Photos to EICRs
Starting with our new 18th edition EICRs, you can use Pirform to attach photos to Electrical Installation Condition Reports.
Highlights of this new feature include:
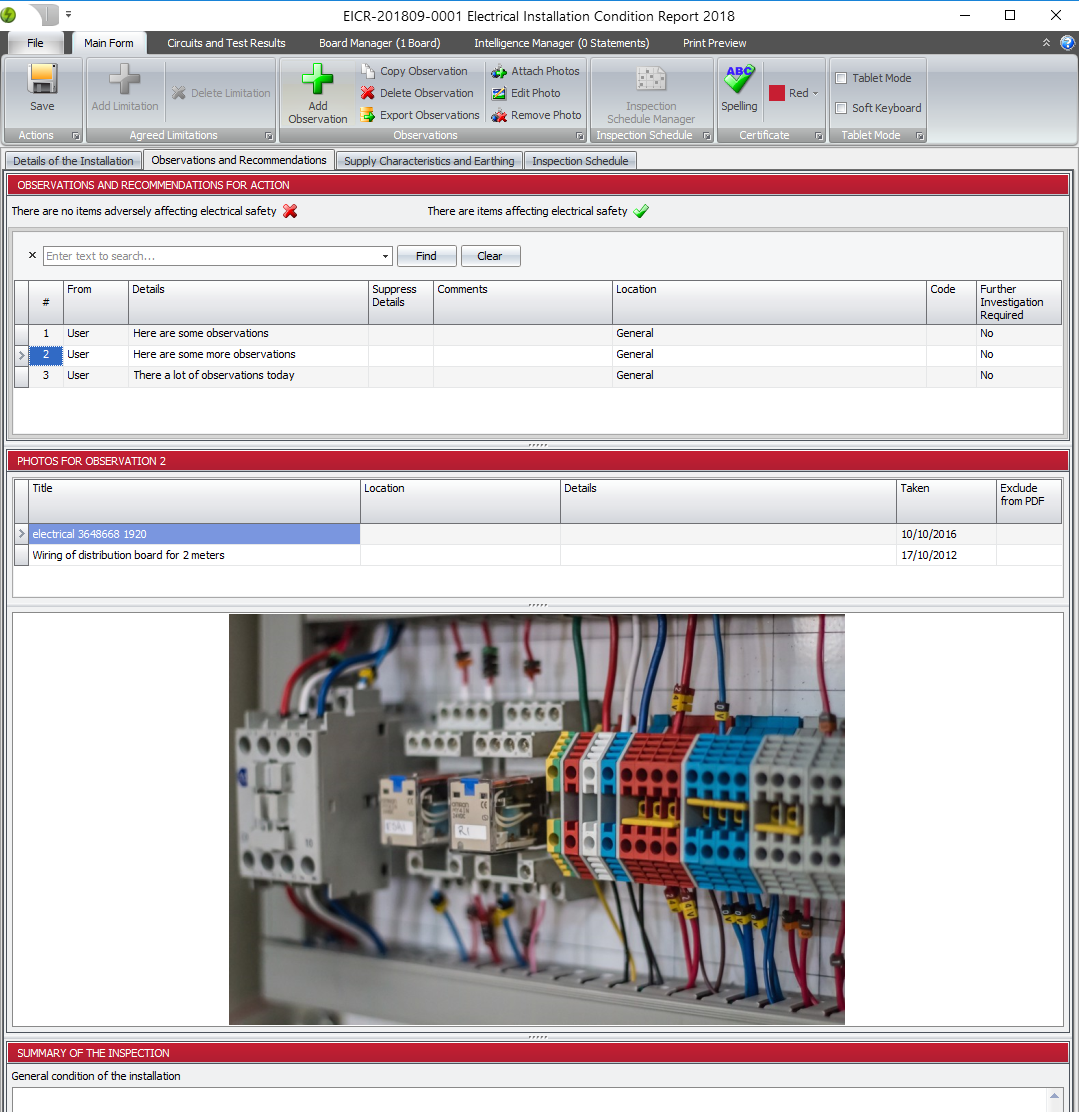
- Attaching one or more photos to EICR observations.
- Capturing details relating to each photo such as location and description.
- Editing photos directly in Pirform.
- Printing the photos in an automatically generated appendix in the EICR PDF.
- Automatically adding references to photos in the appendix inside each observation in the PDF.
There is a pre-release available now and we expect to release this fully in October. Read our last blog post for information about how to download this pre-release and details for using it:
GHOST_URL/18th-edition-pre-release/
Attaching Photos
To attach photos to an observation, select the observation, click Attach Photos and select the images. Drag and drop will be coming soon!
The image title will be read from the name of the photo file and the date taken and location populated from the image's properties. Pirform stores a copy of your image and removed image property data from the stored copy.
You can change the information against the image, such as title, location, etc., as needed.
Editing Photos
Either double-click the photo, or clock Edit Photo in the robbon to open the Pirform Photo Editor.
The Pirform Image Editor lets you rotate photos and show the relevant parts of an image by cropping. Drag over an area with your mouse and it will change the image to show only the area selected or just reduce the size of the photo.
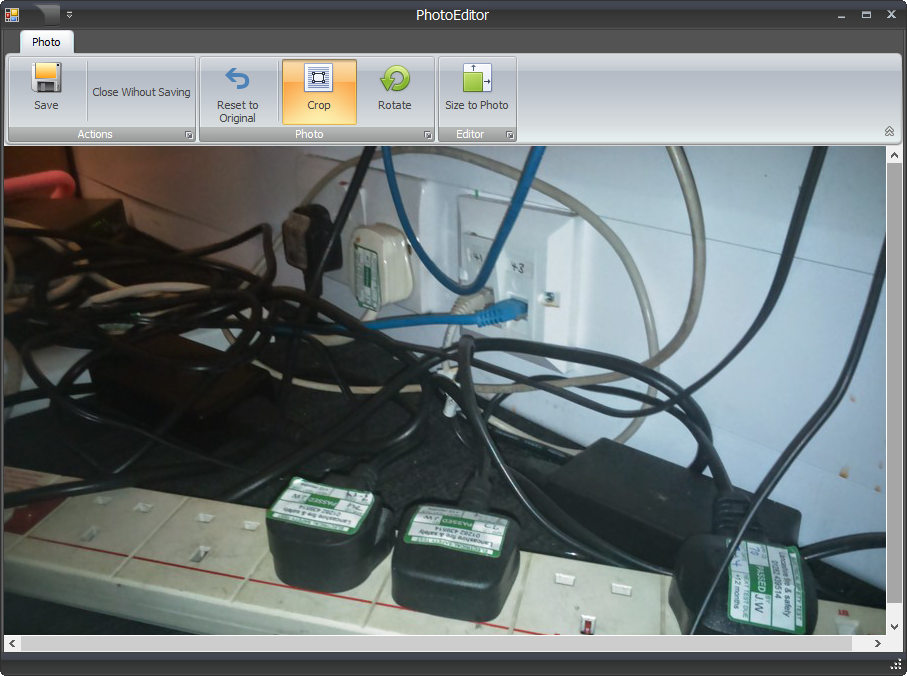
You can click Reset to Original to change back to the original image before you started editing.
Just click Save to return to the list of observations with your adjusted photo.
Photos in PDFs
Pirform automatically collates the photos into an appendix in the EICR PDF.
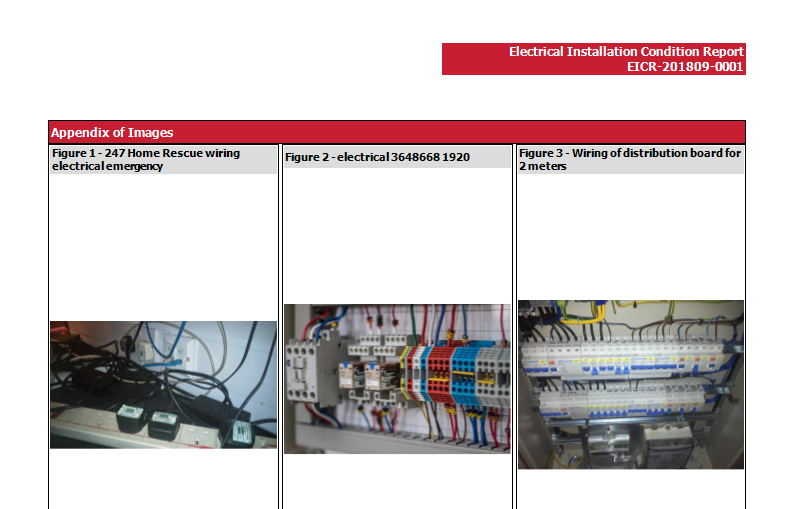
Pirform automatically adds references to the photos in the appendix against the observation so that the client can easily find the photos.
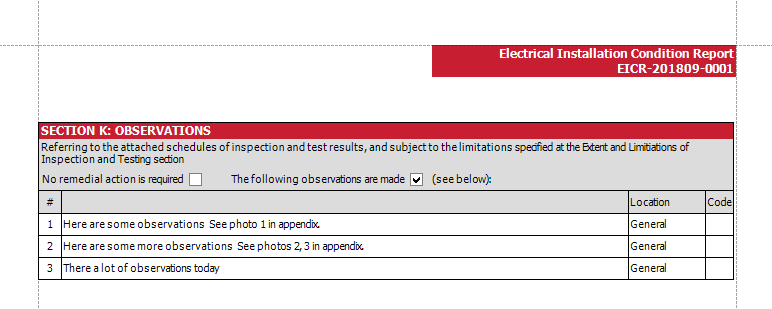
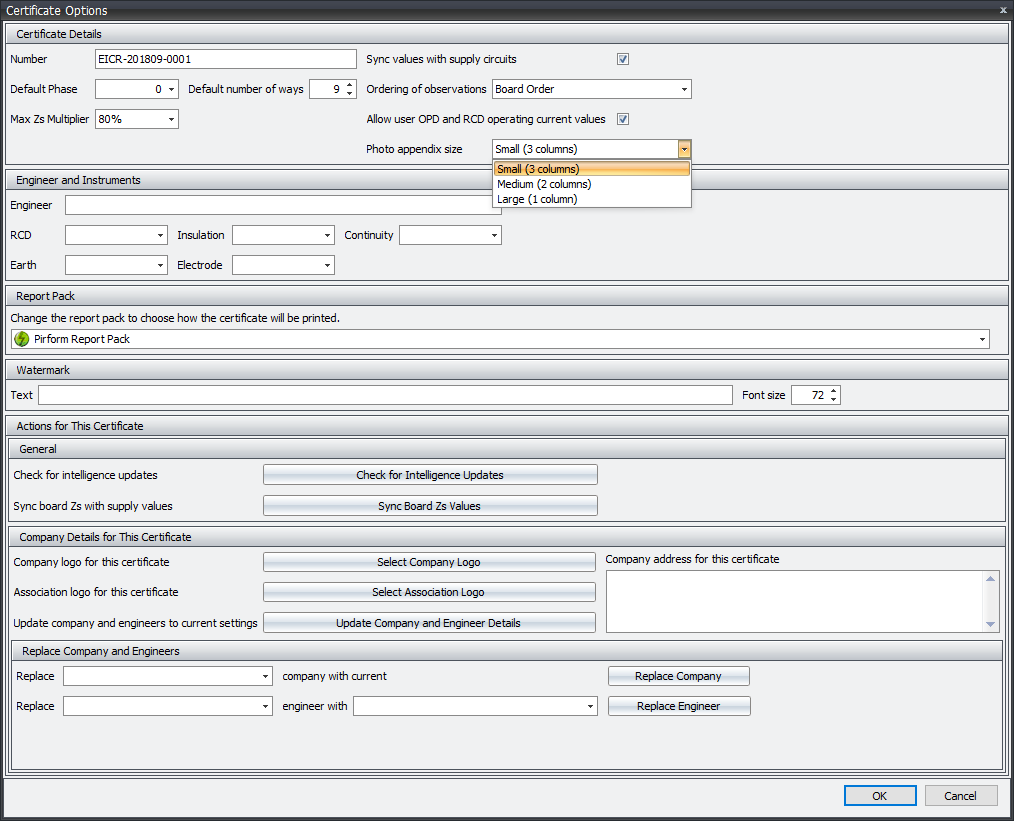
Pirform lets you print photos in three sizes: small, medium and large. These will print 3, 2 and 1 columns in the photo appendix, respectively.
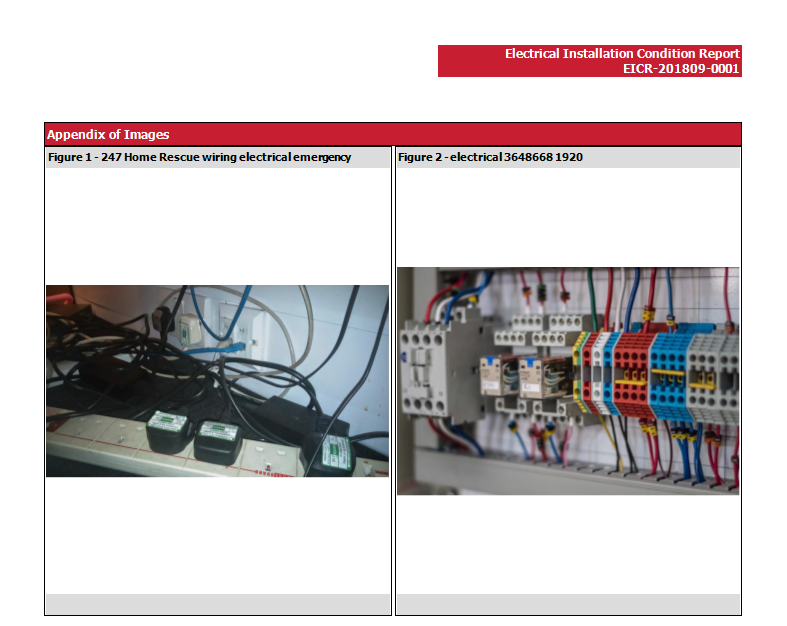
You can control this setting for each certificate from the Certiciate Options and you can set your default preference from Pirform Options.
